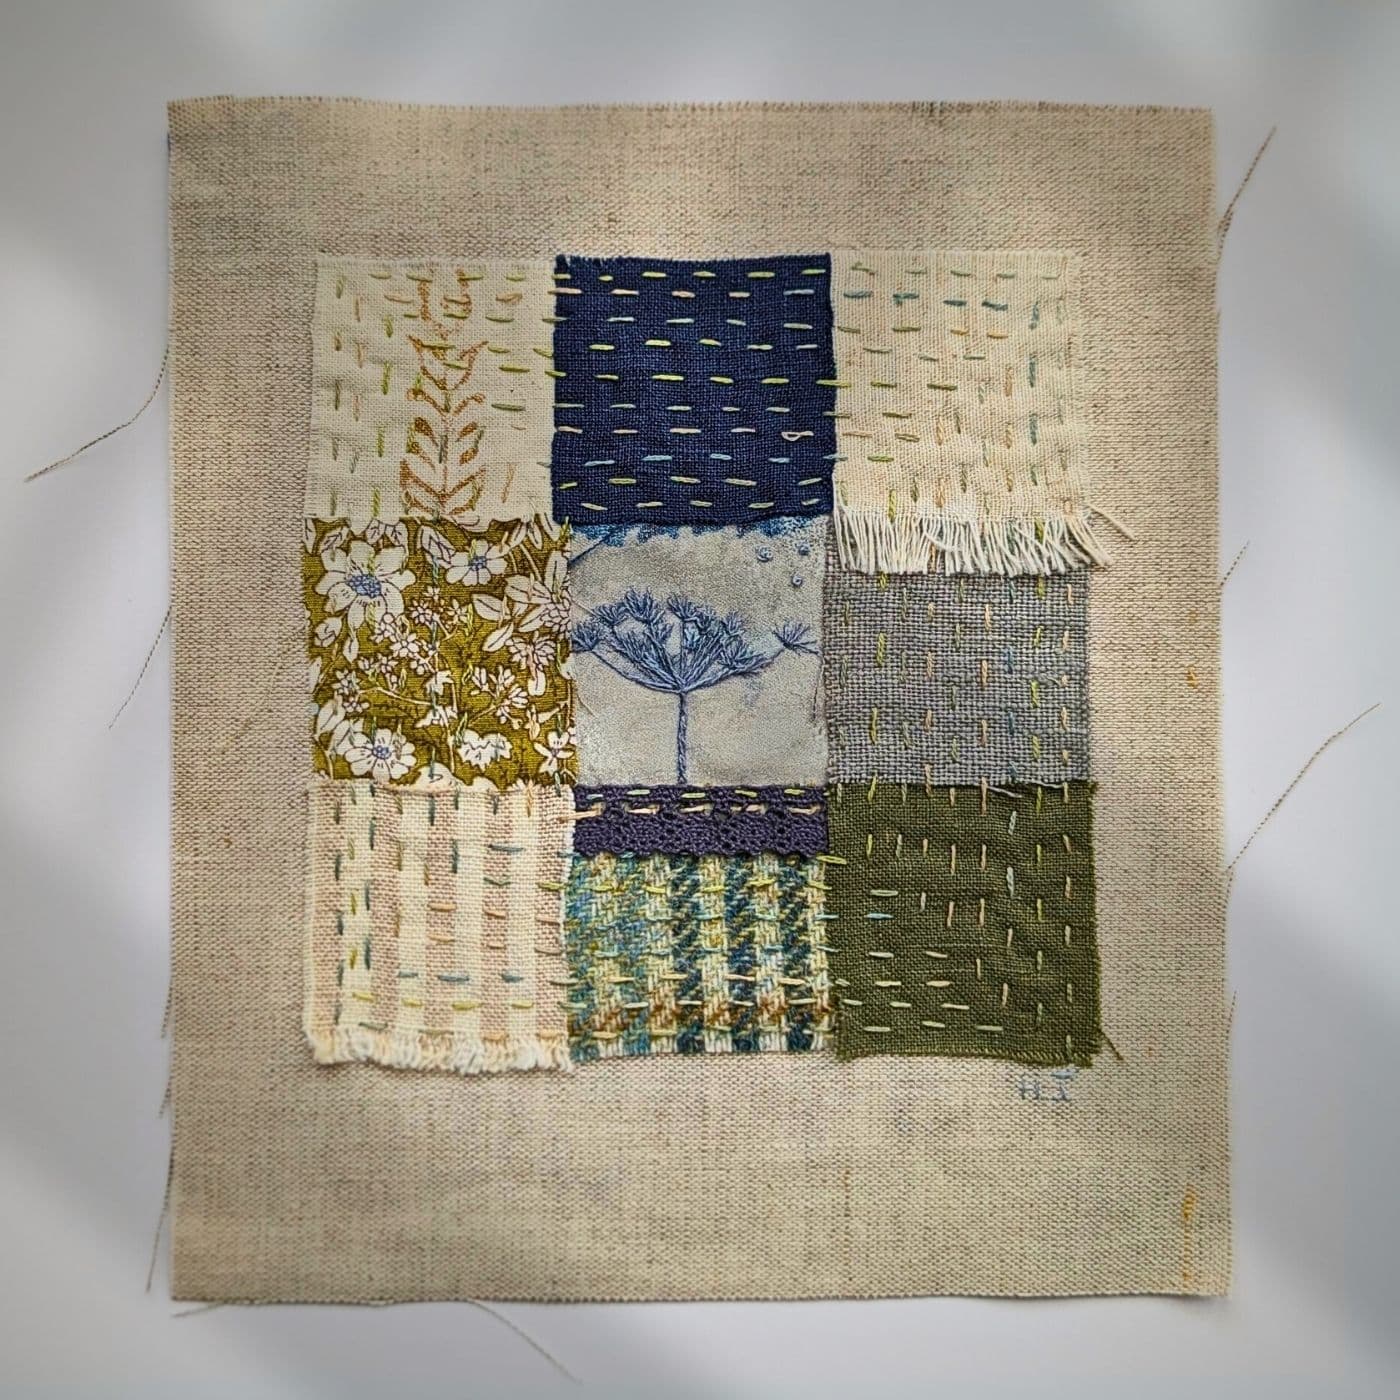
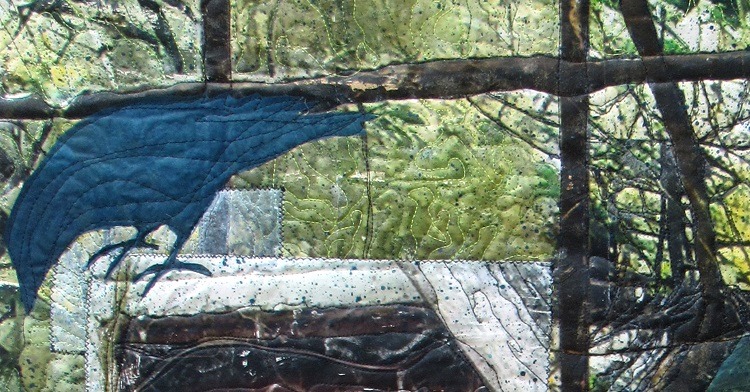
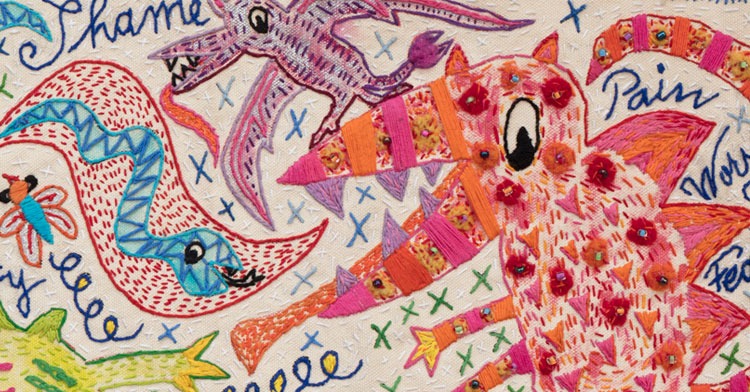
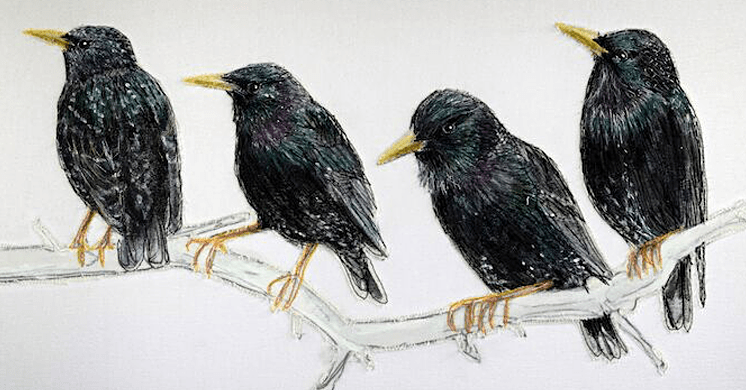
We know from our Stitch Club members that it can be tricky to photograph stitched fabrics and capture all the wonderful textures and colours. Sometimes, it’s a challenge to avoid shadows and washed-out areas in the image.
Without a sound knowledge of photography techniques or access to professional equipment, getting fantastic photographs of your art can be tough. And textile art poses its own distinct challenges as artworks can come in a wide range of sizes, shapes and forms.
Here are some quick tips to help you take great photos of your creations using the camera app on your smartphone.
“Bright, indirect lighting is the key to a great textile photo.”

Choose a bright location
Lighting is the most important factor. It’s best to take your photos on a bright but cloudy day, inside or outside. Avoid direct sunlight as it will cause harsh shadows.
If you opt to shoot indoors, make sure the light source isn’t behind you, or you’ll cast a shadow over your artwork. Ideally, try to work in a space with pale, neutral-coloured walls, such as white or off-white tones.
Don’t use the camera’s flash as it will flatten the textile’s texture. It will also cause glare and uneven distribution of light across the piece.
Aim for even, indirect lighting across the work, with minimal shadows. If it’s darker on one side, prop up a piece of white card on the shady side. This will reflect some light across the work and balance out the darker areas.
Setting up the shot
It’s a good idea to remove nearby clutter or anything that might cast a colour over the work.
If you are going to frame the work using a glazed frame, make sure you take the photo before framing it to avoid problems with reflections.
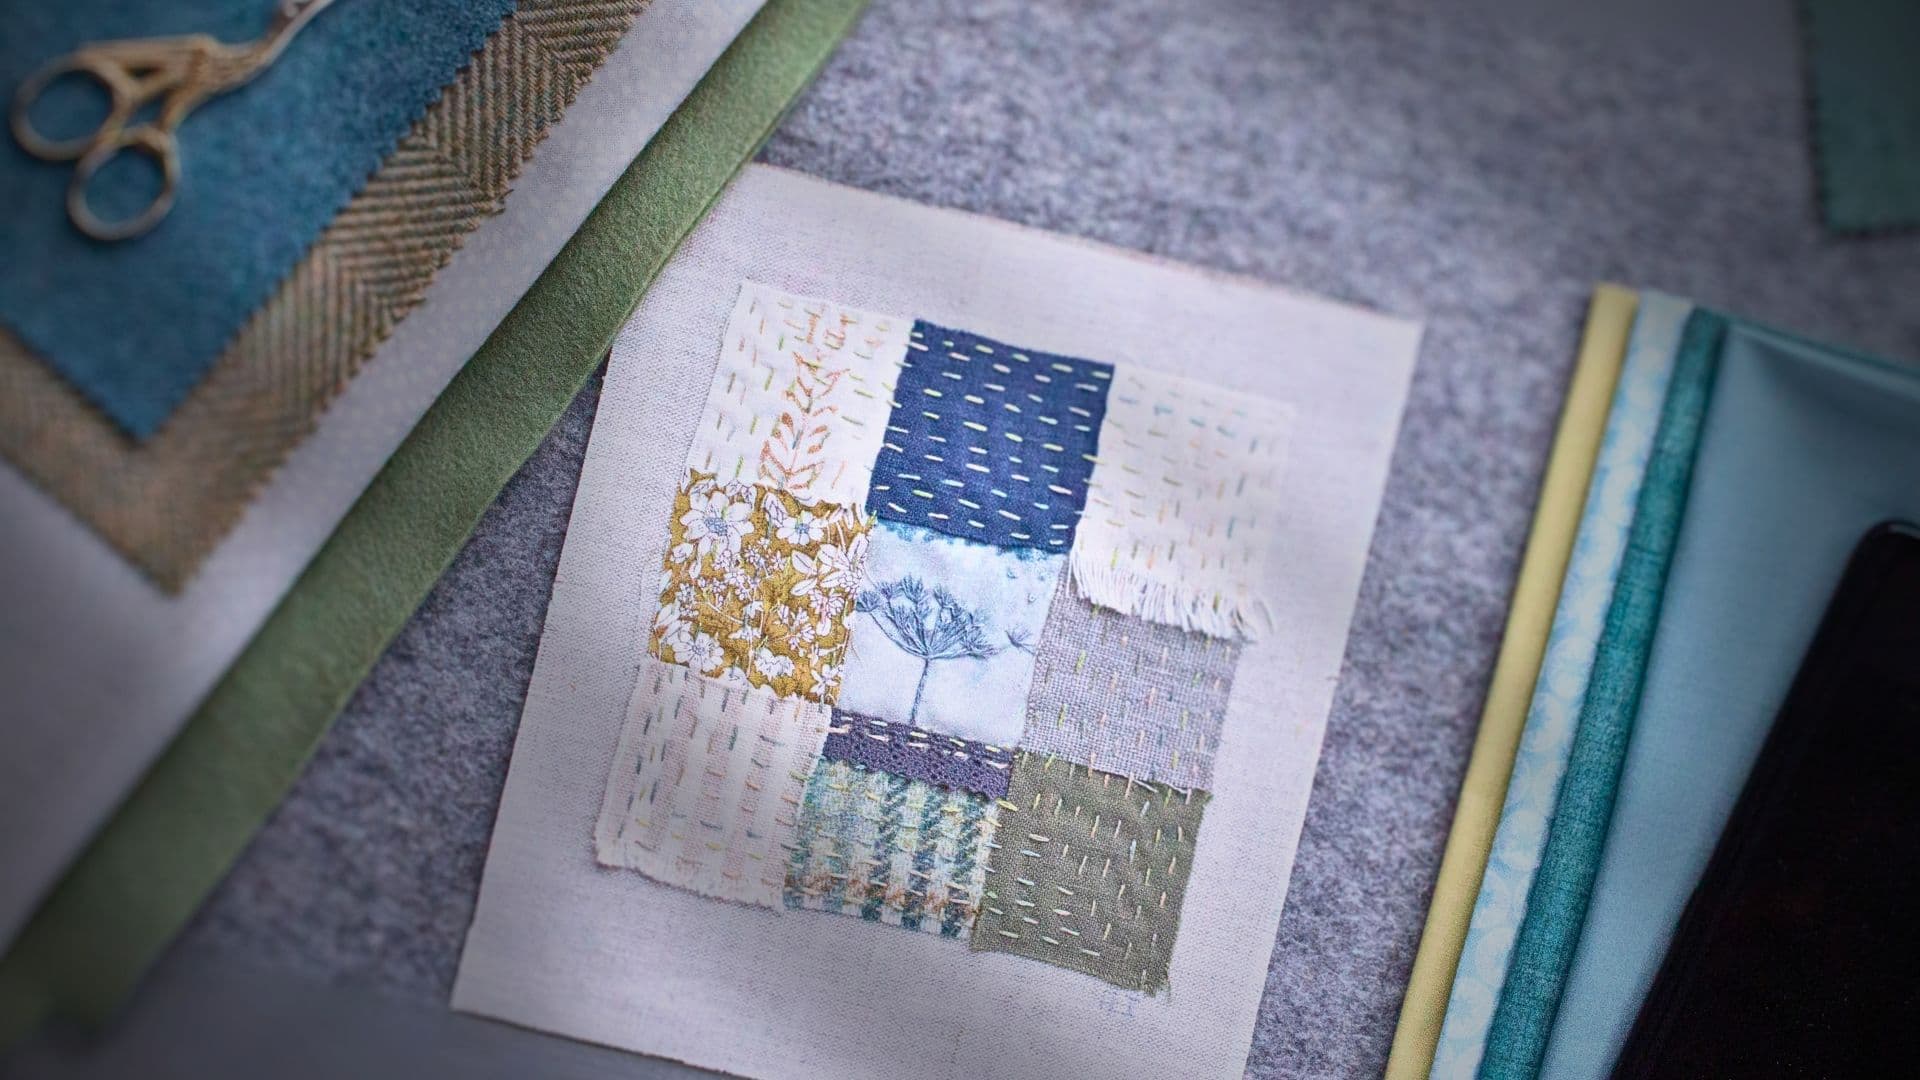
Hang the work on the wall – this is great for quilts or larger works. If you don’t have a handy wall space available, you could use a board covered with a pale, neutral cloth or sheet and pin your textile art to it. Or attach smaller works to a piece of white card propped up vertically.
Alternatively, lay the work flat on a piece of white card and take the photo from above.
Move the artwork around to find the best lighting location for capturing the texture of your textile art. Watch out for reflective surfaces on your artwork – adjust the position and lighting of the artwork to minimise reflections and glare.
Composing the shot
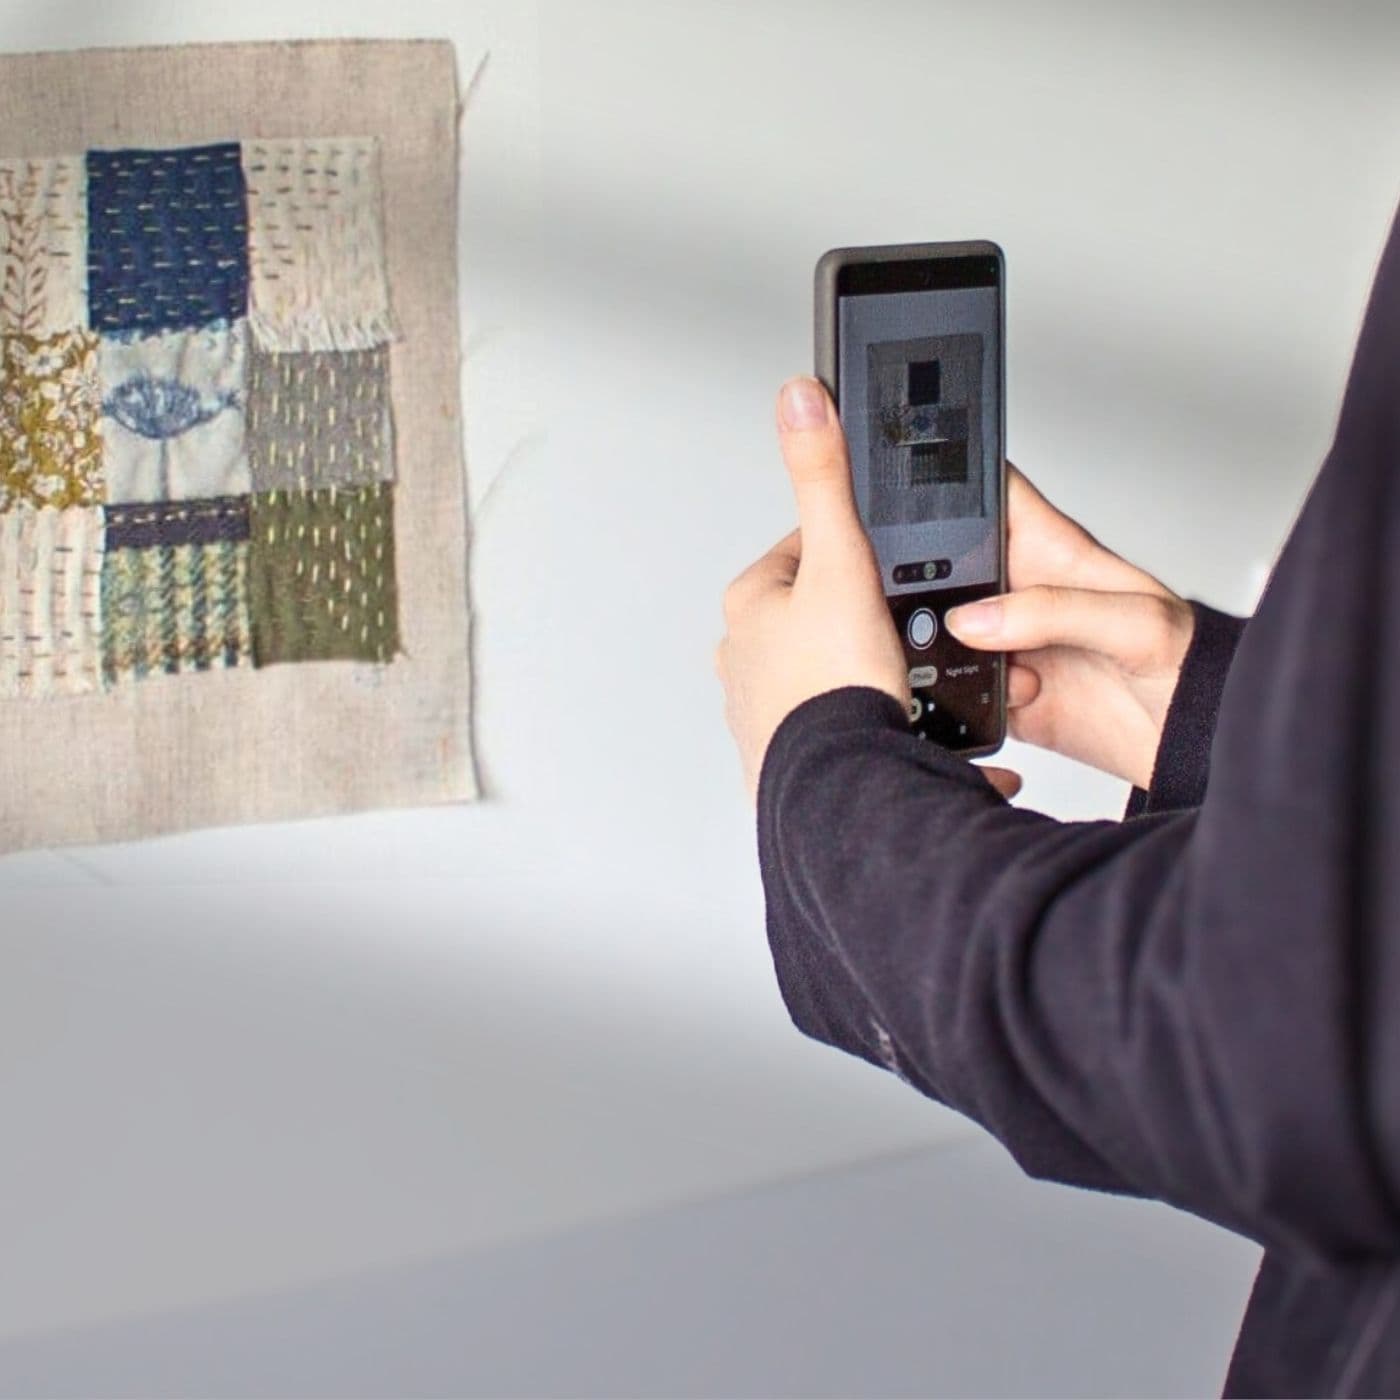
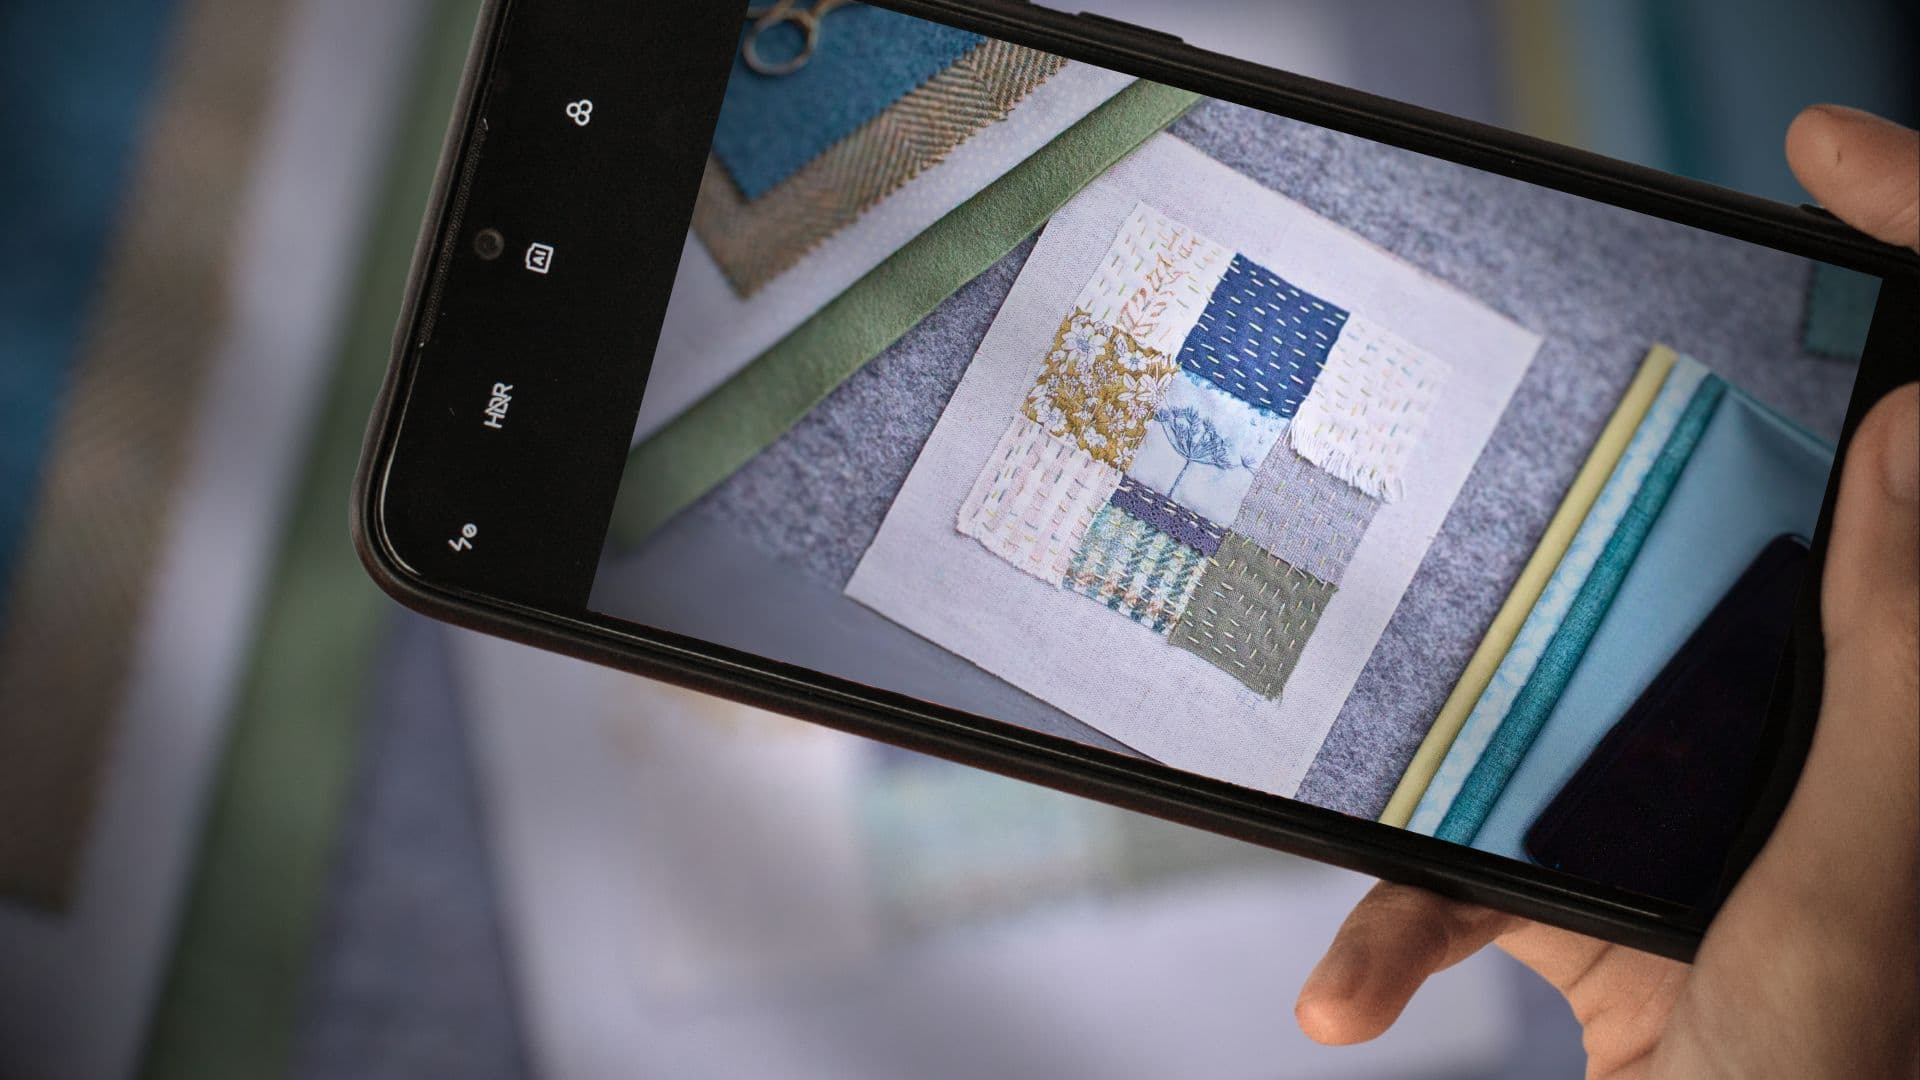
Hold up the smartphone directly in front of the centre of the artwork. Move forwards or backwards, or use your smartphone’s zoom function. You want the artwork to fill most of the image frame, but do leave some space around the outside so you can crop the photo to different dimensions later.
Check that the whole artwork is in focus, not just the central area. If the centre of the image is the only part that’s in focus, try moving further away and zooming in a little using your camera zoom. A sharp focus is important for giving you the best quality image of the stitches and textures.
“Make sure the focus is sharp when you take the photo, rather than trying to fix it later using software.”
Get things straight
Avoid distorted images, a condition known as keystoning. Check that the artwork appears straight, not skewed. Position the smartphone square on and make sure you’re not shooting at an angle with the camera tilted too far up or down. Your phone may have a grid function to help with this.
Taking the photo
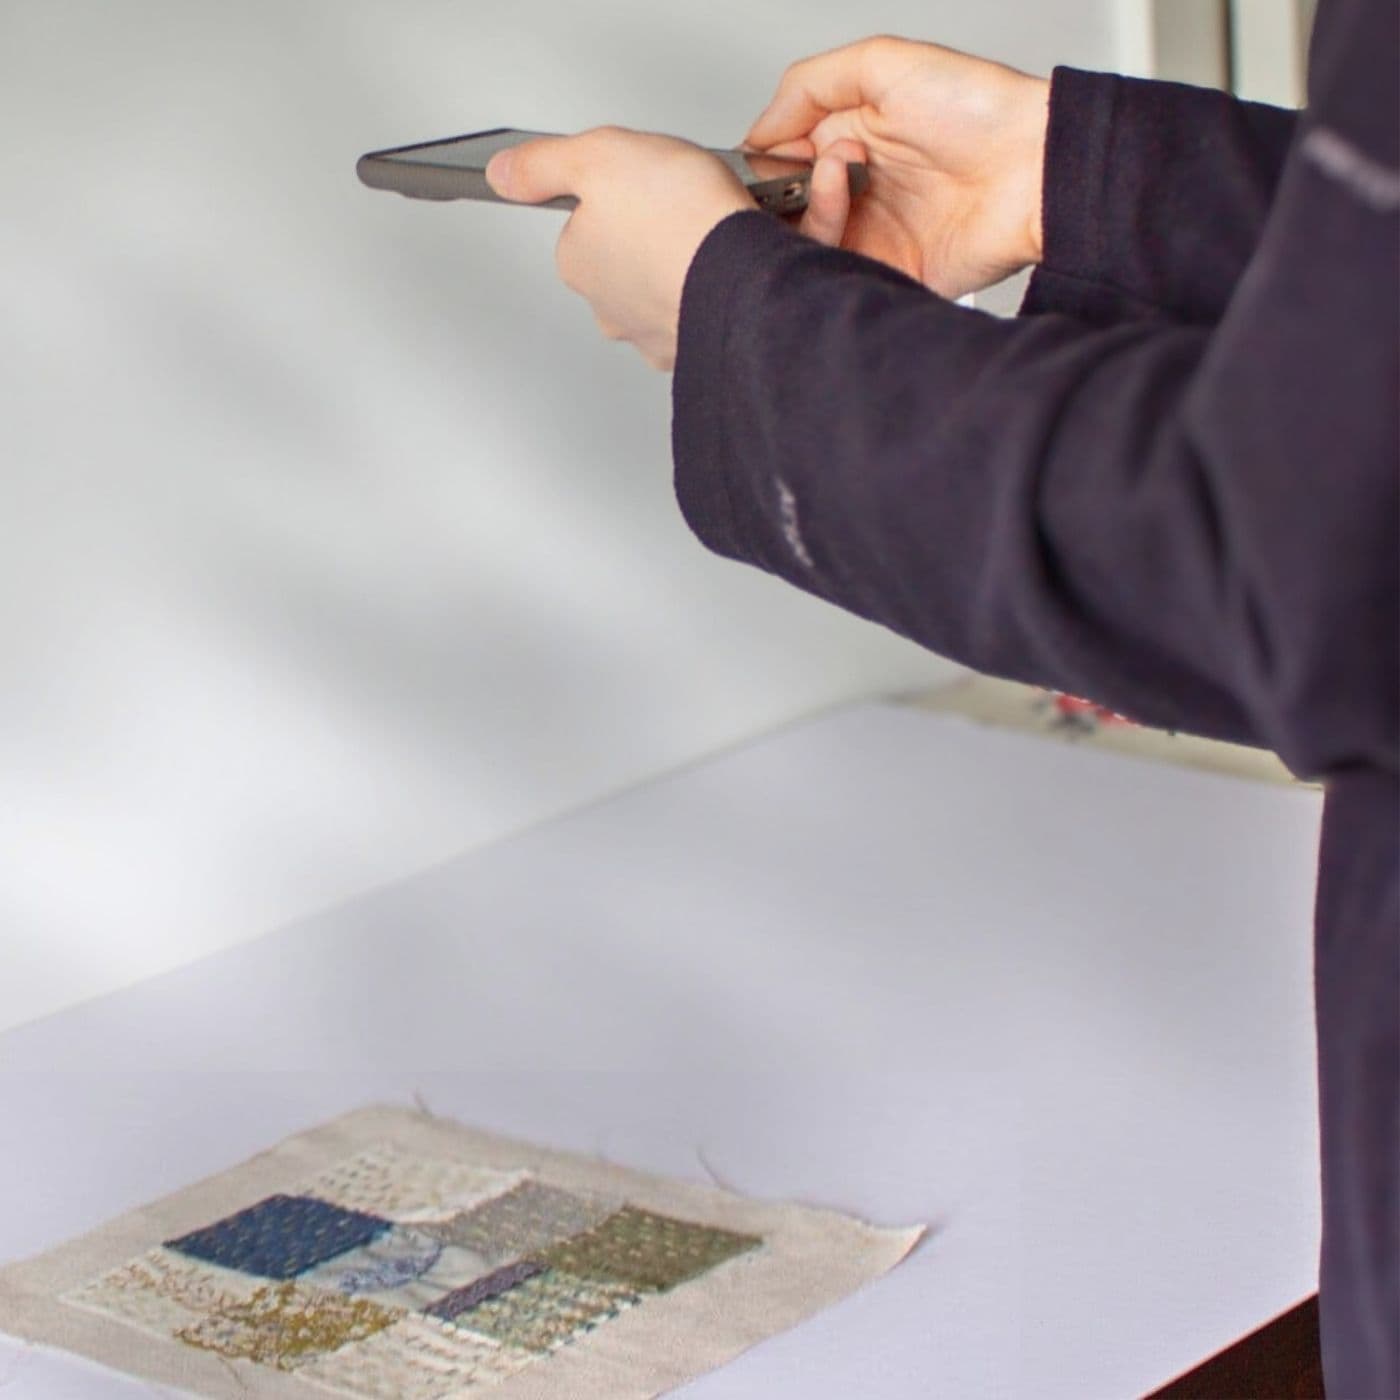
Keep your smartphone super steady – use a tripod or stand firmly and brace your arms, holding your elbows tightly against your body to ensure as much stability as possible.
Take the photo, then zoom in and check all areas of the image for sharpness and clarity. Take several photos so you have lots to choose from.
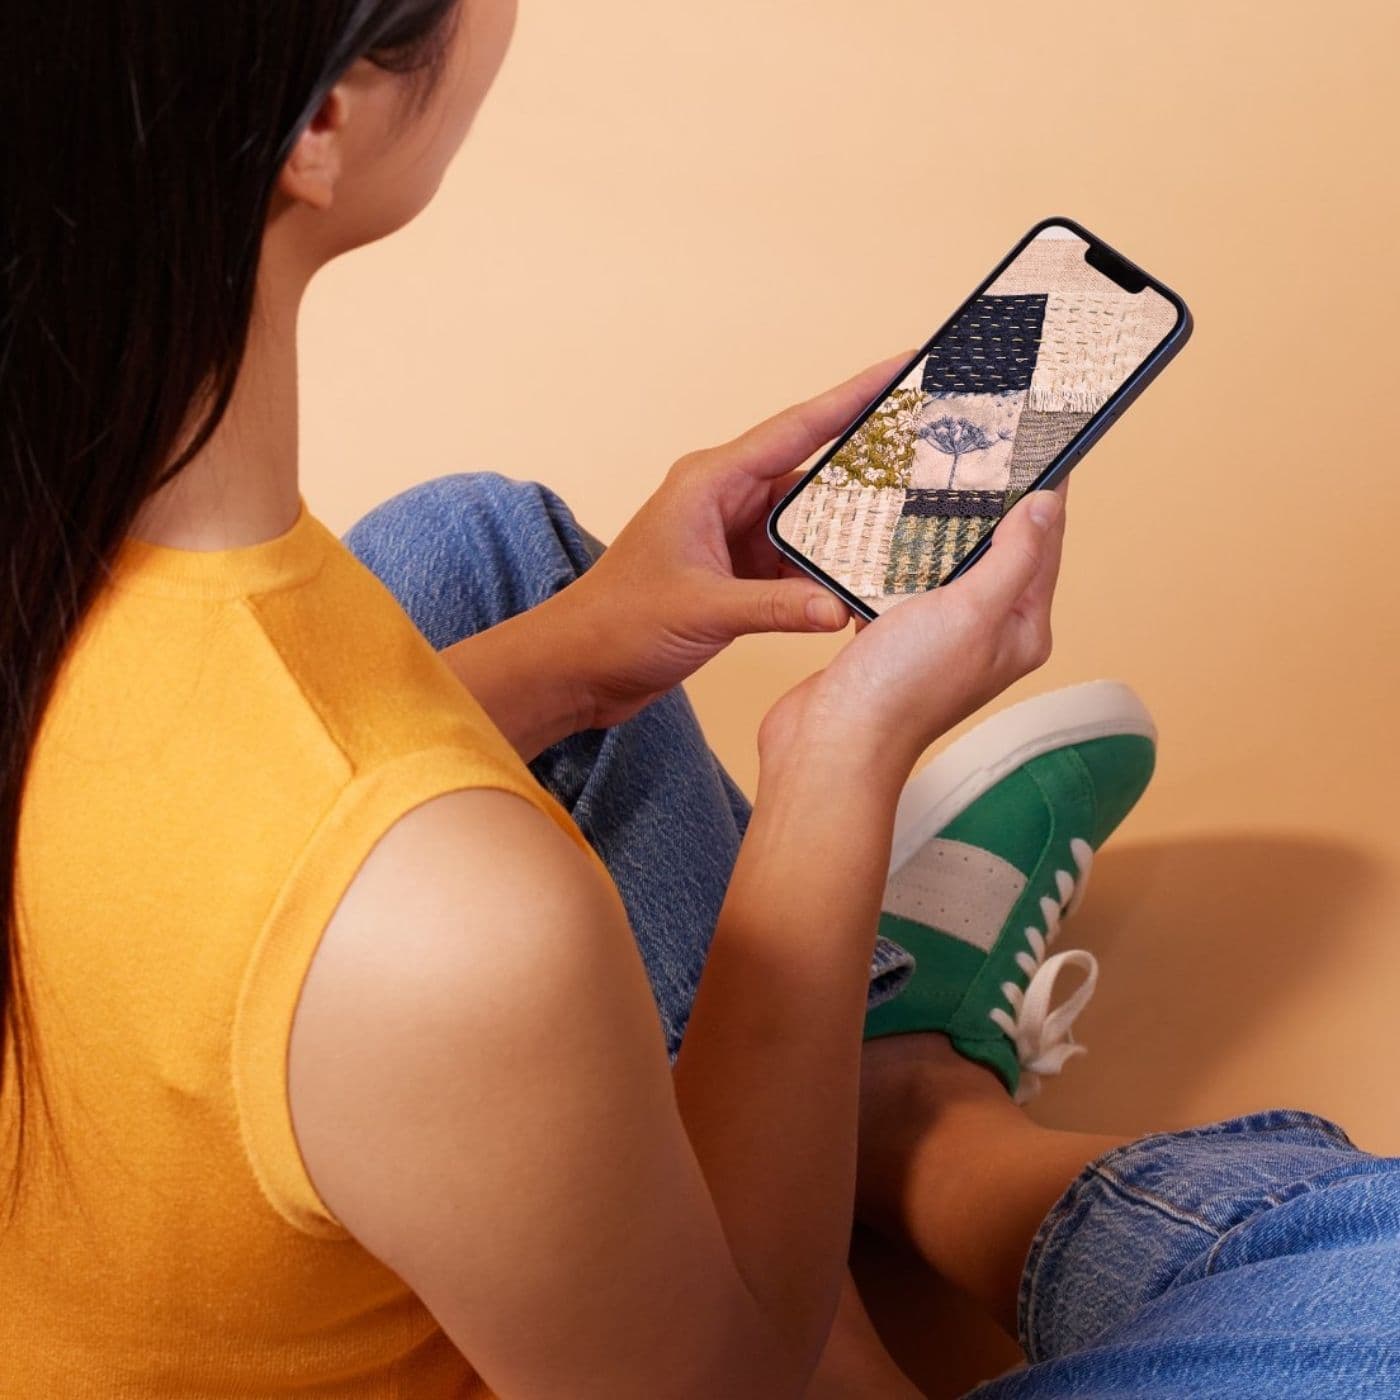
If possible, after you’ve taken a few photos, preview them on a bigger screen, like a laptop or tablet. You can then make any final adjustments to your setup in order to capture the best quality photos of your work.
Cropping & editing
Use your phone’s photo app or computer software to crop or rotate the image. If necessary, adjust the brightness, contrast or colour saturation. Make sure the colours are accurate – white areas should appear white. Try tweaking the white balance settings and/or the colour settings to improve the colour accuracy. The image should be as true to life as possible.
Avoid using sharpening tools when editing your photo, as they can negatively affect the quality of the image. Instead, aim to get the sharpest possible image when you take the photo.
Save your images at your device’s highest-quality JPG setting. A high-resolution and larger file size will be needed for any photos you want to print.
You may need to create smaller files for emailing or to use online on a website – an image size of around 1800 pixels wide (giving a file size of 1-2Mb) is perfect for this.
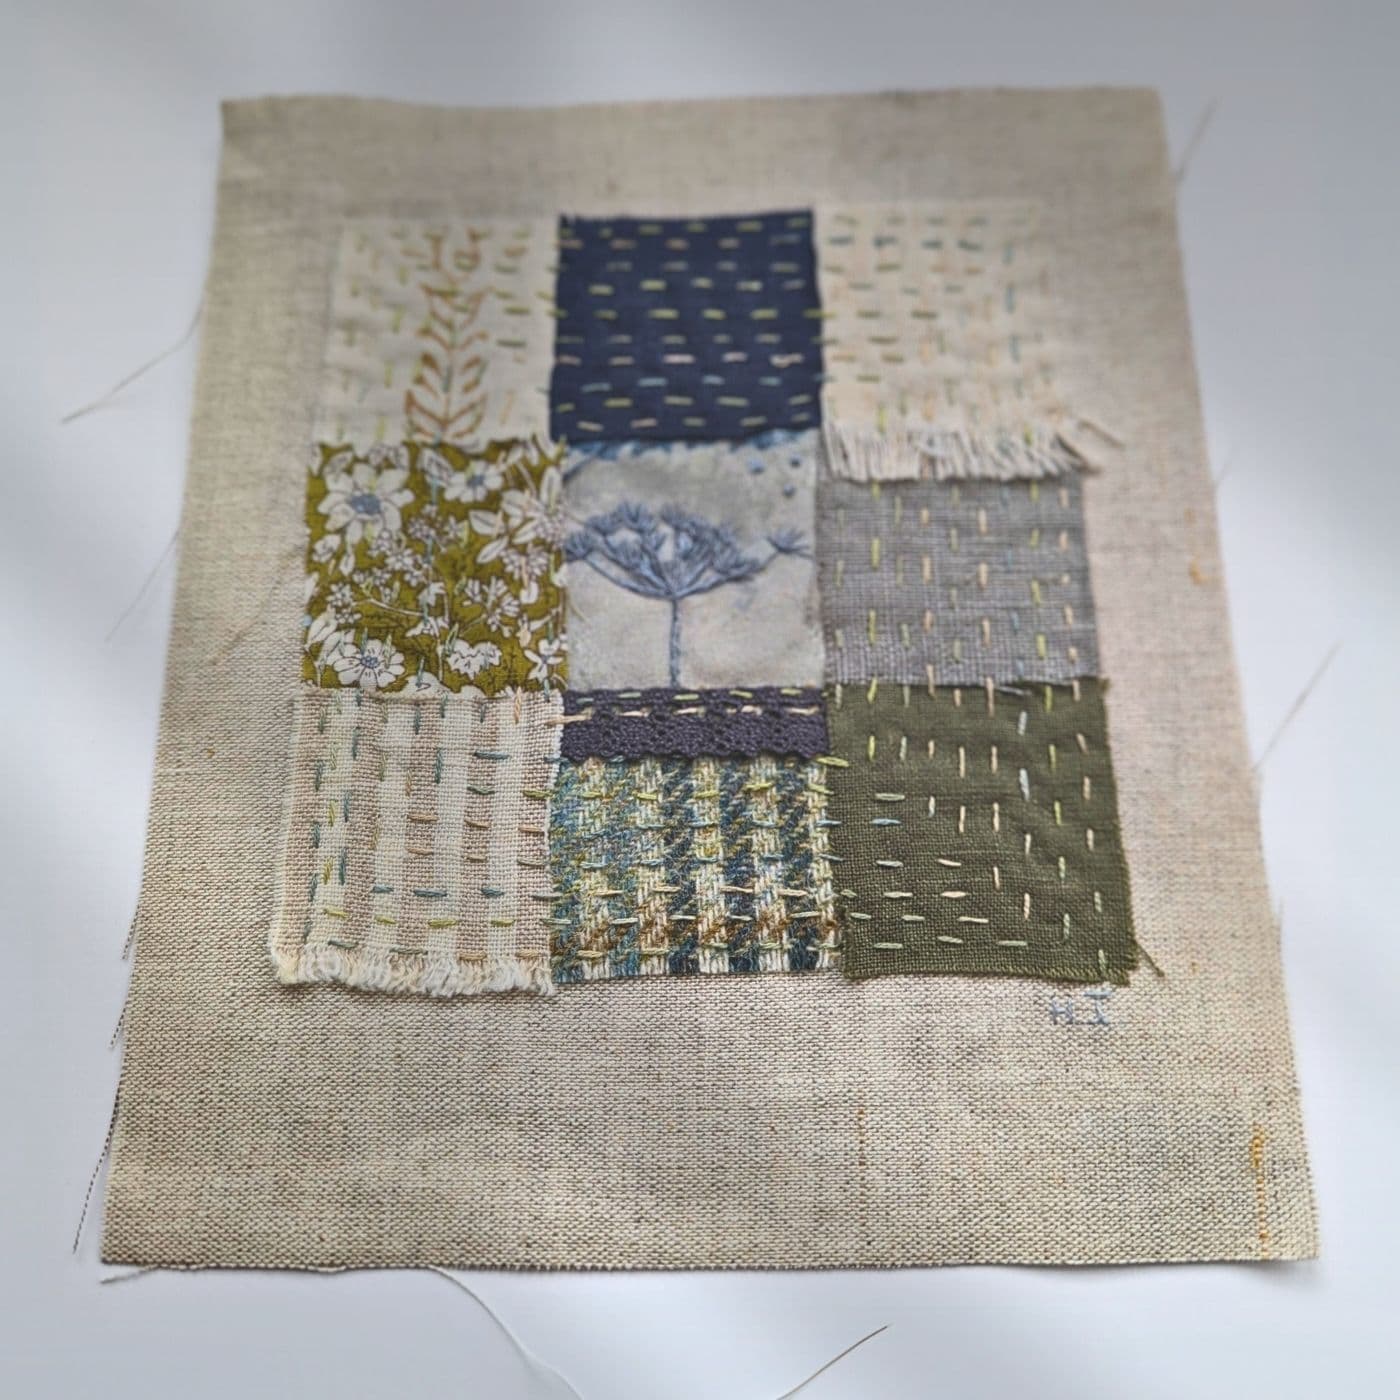
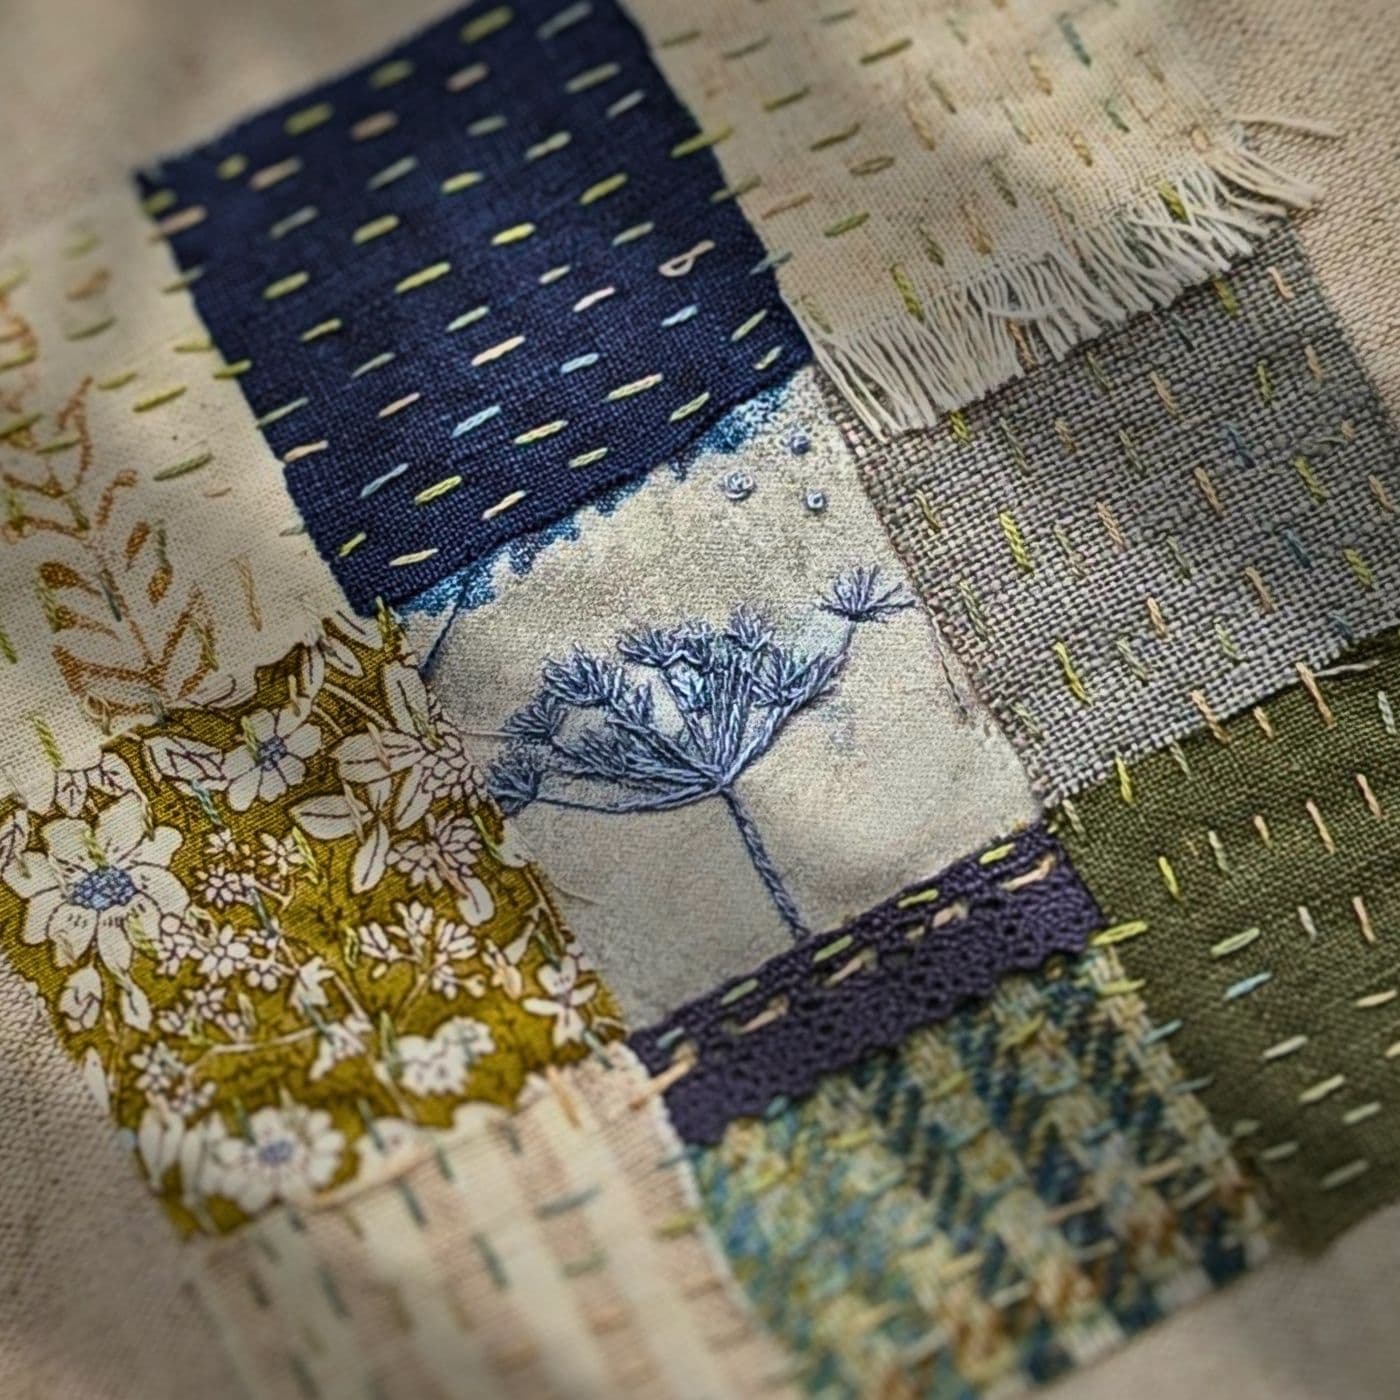
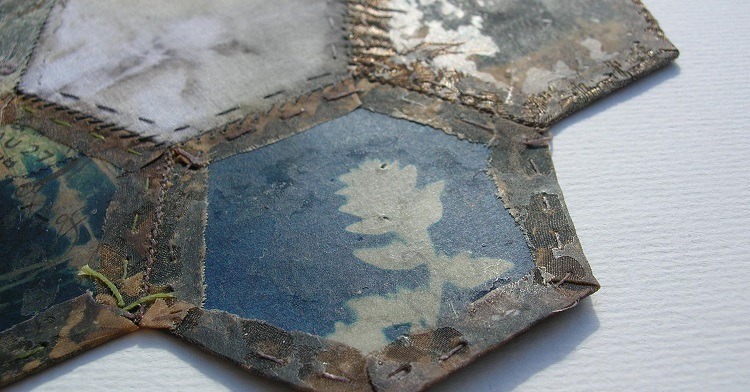
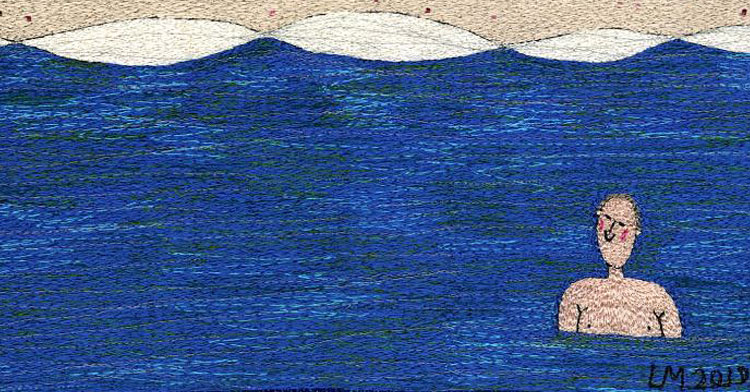
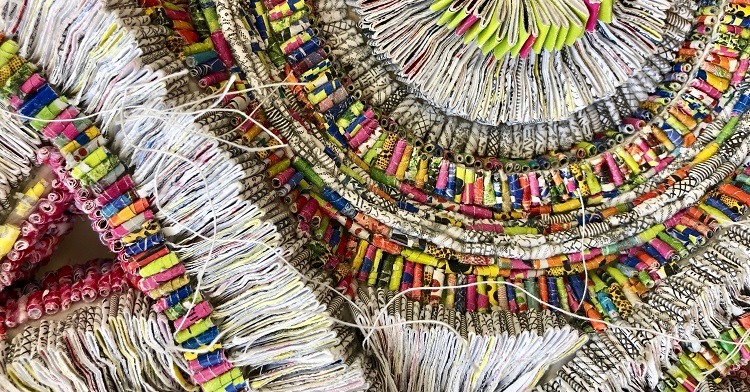
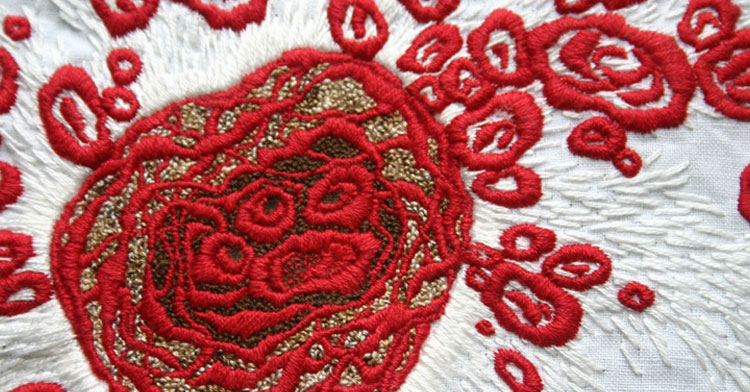
If the textural details are particularly important in your artwork, take a separate set of close-up (macro) shots.
For three-dimensional textile sculptures, choose the best place to focus on to get as much of the piece in focus as possible. Then, take some detail shots from different angles to capture the sculptural shape of the work and show any interesting folds or layers in the fabric.
“Take whole artwork photos, as well as detail shots to highlight interesting areas of texture.”
More tips & tricks
Seeking that perfect photo of your art? Good lighting and a sharply focused image are key. Here are some extra ideas to try.
If lighting is a problem and you find you have to use artificial lights, look for some daylight bulbs. You could also try to diffuse any harsh lighting using a white sheet or a piece of white plastic placed in front of the light source. With safety in mind, take care to avoid the light overheating.
If you’re using a tripod, set the timer function to take the photo a few seconds after pressing the button – this can help to further reduce camera shake and ensure really sharp images.
You can also adjust the exposure brightness and the white balance in your smartphone camera settings before taking the photo. This can help you capture the colours so that they look true to life. Remember to aim for an accurate reproduction of your work.
12 comments
Lisa Weir
I often use a black fabric for my embroidery but find it very difficult to get a true black in any photos. It always comes out looking dark grey and washed out. Any suggestions?
Heidi Ingram
Try adjusting the brightness and contrast settings so that the black fabric looks black (before you take the photo). You can adjust the white balance (whether the light source is more orange, white or blue toned), and playing with this setting may also help. You can also try editing the image after you’ve taken it, by adjusting the same settings on your photo app or on your computer.
Diane Forster
My major issue is getting “true” colour in my pix. Any advice on this please?
Heidi Ingram
Thank you for your question. Good natural light will help. Some phone brands adjust the colours and light balance automatically to give more vibrant images, and therefore the colours of the textiles are not quite right. In some smartphones you can adjust the white balance (whether the light source is more orange, white or blue toned) when you take the photo. Or, try editing the image after you’ve taken it, by adjusting the white balance settings and/or the colour settings.
Deb Sparkles
Can you please clarify – is the 1800 pixels (1-2Mb) perfect for high quality, or for emailing? I couldn’t work it out in context above…
Heidi Ingram
Thank you for your comment. To clarify, 1800 pixels wide is good for emails and website use. A higher resolution will be needed for print use, for example if you want to use images for giclee prints or greeting card printing.
Denise Greenwood Loveless
I have 2 light boxes, small and large (for photographing my ceramic sculptural work). You can buy them online, with many different choices depending on your budget. They’ve got a little hook and loop opening in the front (for straight on,) but also on the top for laying textile work flat. They will come with lights and two backdrops, black and white. Makes indoor photography a breeze because you can control the light within the box. Oh, and they fold flat when not in use!
Heidi Ingram
Great tip, especially if natural daylight is an issue! Thank you for sharing this idea.
Dymph Gerritsen
reflextion is inavoidable when your work is paced in a frame with glass or perspex. make your pictures before !
Heidi Ingram
Yes, that is such as important point to remember, as noted in the article. Try to take the photo before you do the framing!
Heidi Ingram
Yes, that is such as important point to remember, as noted in the article. Try to take the photo before you do the framing!